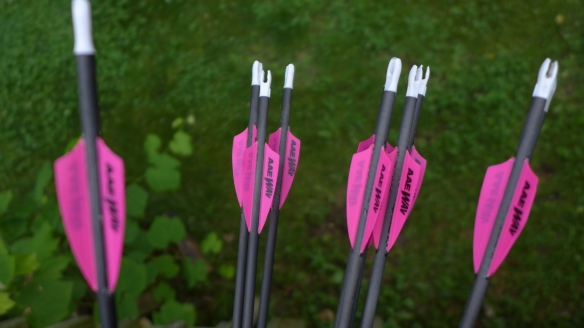
Fletching arrows like many things is a matter of following steps and paying attention.
Not every step is crucial but if you want your feathers/vanes to hang on when you accidentally shoot through a bale or clicker and or when you’re shooting tight groups it pays to have paid attention to the details.
Big hint number one for success is to work clean. Start by washing your hands to keep your natural skin oils away from the surfaces you’ll be applying glue to, keep your work area clean, and if you just ate mama’s fried chicken, scrub up well!
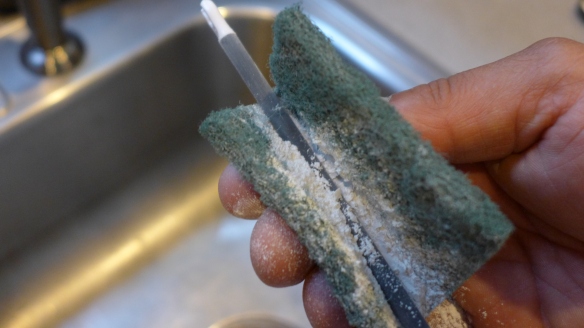
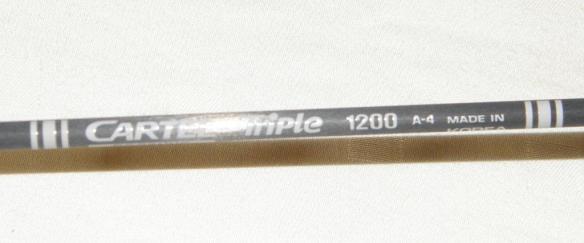
Next on the cleaning list are your shafts, when I first started fletching my own arrows my local shop sold me a shaft cleaner made by AAE, but any powder cleaner like Ajax or Comet will do the job.
Put it on and scrub it in with a clean abrasive pad. See pic below.
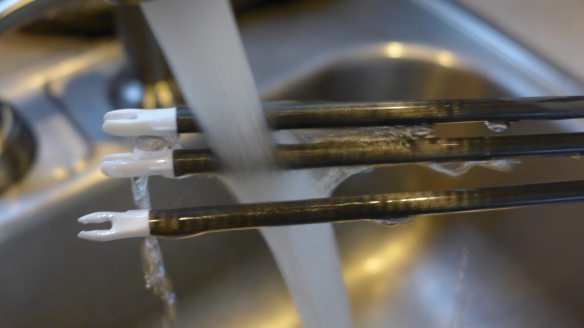
Once you’ve cleaned your shafts well, rinse them with warm water, I like to use hot water so they air dry faster.
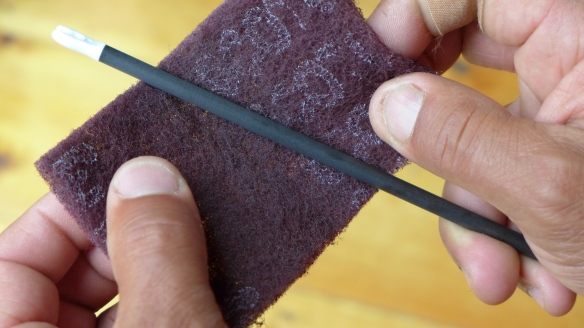
This next step is crucial, whether you’re fletching carbon or aluminum arrows is to abrade/scuff the surface you’re going to glue to, so the glue has something to hold on to, specially with aluminum arrows which are slick indeed.
I use 3M’s 7447 Scotch Brite Pad, some folks use steel wool or very, very fine (600 grit) sandpaper.
When I abrade the surface I do it in a left to right motion or at right angles to the shaft. Depending on the arrow, this usually means that I’m going across the grain, increasing my chances for good adhesion.
If you’re fletching carbon shafts there will be some carbon dust residue on your shafts, I usually wipe them with a clean rag.
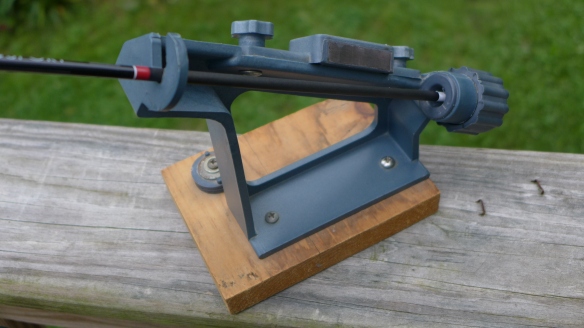
Now that you’ve prepped your shafts you’re ready to glue your fletchings on. The majority of fletchings are glued on by using a fletching jig to guide the placement of your feathers or vanes onto the arrow and hold them there while the glue sets.
https://charlesarcheryblog.wordpress.com/tag/charlesarcheryblog/page/4/
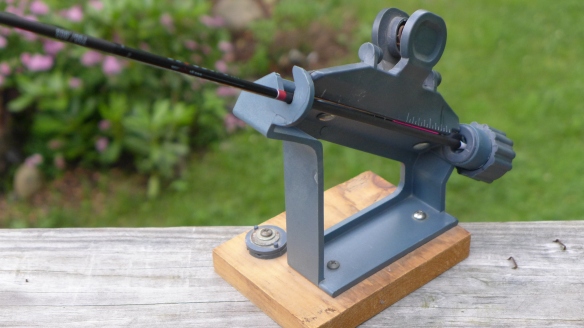
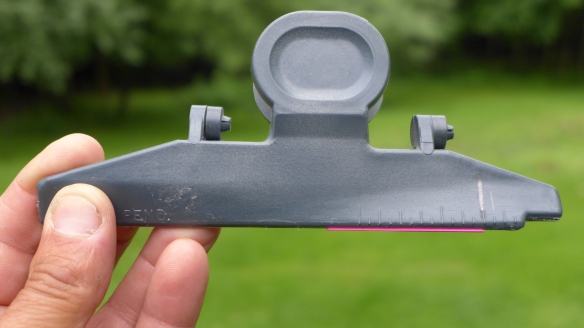
Here is the clamp holding the feather against the shaft while the glue sets, the clamp is held to the jig by a magnet.
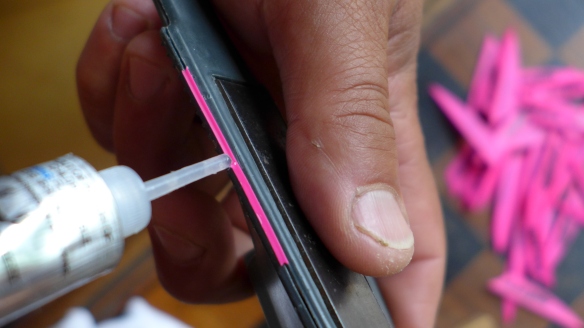
Once I have the feather or vane in the clamp I apply a consistent bead of glue. I always have a rag nearby to deal with excess glue from the tube, which often continues to ooze wanting to make a mess.
If I am gluing vanes I leave the vanes in the jig just a short time, 30 seconds to a minute. If I am gluing feathers and this depends on what you’re using for glue. I leave them in a lot longer. Feathers have some natural curvature to them, when you put them in a clamp you are changing that shape. The feather wants to spring back to it’s natural shape. If you pull the clamp early, before the glue has dried enough you risk the feather springing off the glue line.
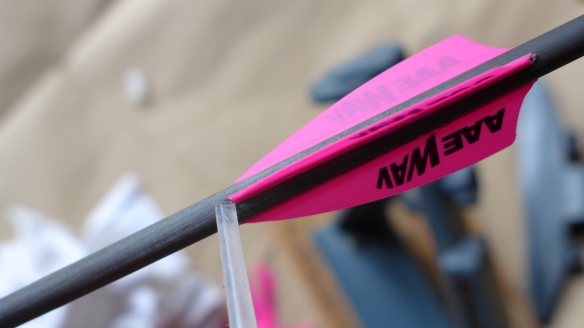
Once I’ve glued the vanes or feathers on, I will dab spots of glue on the leading and trailing edge of the fletching. This is cheap insurance and makes a difference in longevity.
Lastly I let them dry, preferably overnight. Depending on the glue you may be able to shoot them much quicker than that, I figure if I have the time it doesn’t hurt to let the glue fully cure.
There are clamps for jigs that will angle your vanes or feathers differently on the arrow, how they are set on the arrow affects arrow flight. Find info on these clamps below.
Straight: There is no angle on the feather or vane, often commercially purchased arrows which come pre-fletched are straight fletched. With certain types of arrow rests it is preferred as the arrow can’t catch, think whisker biscuit arrow rests.
Offset: The fletching is angled on the shaft 1 or more degrees, this induces rotation which has a gyroscopic effect on the arrow for a more stable flight.
Helical: Is angled on the shaft and also has corkscrew like bend (helix) to the fletching. Helical can provide the maximum amount of rotation, which means more stability in flight. It also means more drag than straight or offset making for a bit slower arrow than straight or offset.
Left or Right: Choose to have your feathers/vanes angle right or left, it doesn’t matter which. When purchasing a fletching jig you will have to decide whether you want left or right clamps, also when buying feathers you have to indicate whether you want left or right feathers. Vanes are straight and can be used in either direction.
Personally I like an offset or helical, getting the arrow to spin and be a bit more forgiving.
Lastly, I’d like to mention the distance from the end of the arrow to the fletching, this
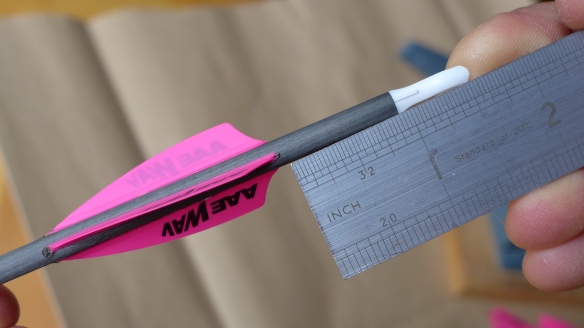
changes depending on whether you are shooting with fingers or a release. The above arrow has 1 1/2 inches of clearance because it will be used with a finger release. When using a mechanical release you can have them further aft. The further back the better.
I have really enjoyed fletching my own, it gives me more control of the whole process, gets me involved in the craftsmanship of archery and opens a window into how things in archery work and why. You may want to give it a go yourself.

